William Wallace, the towering symbol of Scottish independence, spent his early years far from the battlefield. A man who would become known for his ferocity in war had no formal military training. Yet, on that fateful day in September 1297, he outmaneuvered England’s finest, turning the tide in Scotland’s fight for freedom.
The Calm Before the Storm
The air around Stirling Bridge hung heavy with tension on the morning of September 11, 1297. On one side of the River Forth, the English forces, a formidable assembly of knights and foot soldiers, exuded power and determination. Confident in their military prowess, the English had made a critical error in underestimating their enemy. Across the river, William Wallace and Andrew Moray, commanders of the Scottish resistance, waited with their army of determined, though largely untrained, Scots.
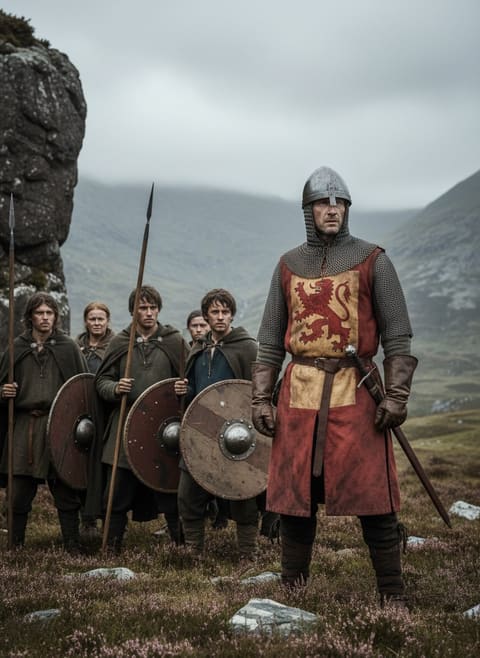
The bridge itself was a narrow, timber structure, barely wide enough for two horsemen abreast. It was here that Wallace, an unyielding figure in a long chainmail coat, stood apart from conventional military thinkers. Instead of meeting the English in open battle, he chose to stay patient. As the English began their slow march across Stirling Bridge, Wallace knew that the balance of power dangled precariously over the waters below.
The Trap Springs
The strategy was audacious and teetered on the edge of disaster. Watching the English soldiers cross, bit by bit, Wallace gave no hint of the impending chaos. They crossed in a single file, a snake coiling itself over the river—tantalizingly vulnerable, and soon to be overwhelmed. Wallace and Moray waited until enough of the English army was committed to the bridge, their forces perilously fragmented. As sunlight glinted off armor and the air filled with hushed breaths, the order came down the Scottish line.
Read next: The Day a Scots Weaver's Son Freed the Kirk From a King
Wallace's troops surged forward, exploding from their positions with a roiling ferocity. Knights and footmen, trapped on the narrow planks, found themselves bottlenecked, unable to retreat or reinforce. In an instant, the bridge transformed from a symbol of English advance to a place of frantic retreat. Panic and confusion spread amongst the English ranks like wildfire as their formations crumbled. For those who had crossed, there was no turning back; for those yet to cross, it was a sudden realization of impending doom.
A Battlefield Baptism
The bloody fray at Stirling was one of both combat and calamity. English knights, weighed down by their own armor, sank beneath the waters of the River Forth when forced over the bridge’s edges—what should have been a trivial crossing became a waterlogged grave. The Scots, vastly outnumbered, fought with a savage determination borne of desperation and righteous cause. Tales from the battlefield tell of Wallace himself being in the thick of battle, wielding his sword with lethal purpose, cutting down adversaries with the skill of someone who had nothing but stakes to lose.
Read next: The Day a Highland Clan Turned a Massacre Into a Legend
Amidst the chaos, the river claimed lives on both sides, but none more so than the English floating in their cumbersome gear. In the melee that ensued, Wallace and Moray’s smaller force encircled the English on the wrong side of the bridge, delivering a decisive blow that scattered their ranks into disarray. The results were catastrophic for the English: out of the thousands who crossed that day, only a handful would see the shores of their homeland again.
The Echo of Defiance
What happened at Stirling Bridge on that crisp September day was more than just a military victory; it was a clarion call echoing across the moors of Scotland. Against infinitely superior odds, Scottish forces unravelled the English stranglehold, delaying a conquest that had seemed inevitable. The defeat would become an indelible mark on the English crown, a point where geopolitical ambitions were unseated by the cunning of a figure many thought they could easily overpower.
In defiance of English dominance, Stirling Bridge recalibrated the course of Scottish history, planting seeds of independence that would take centuries to fully blossom. Wallace’s actions at the bridge redefined the battle strategy of medieval Europe and unchained a collective Scottish will that refused to bow to despots. The lesson in Stirling Bridge lies in humility and strategy—an understanding that sometimes the smallest hinge can swing the largest door. And so, from that historic crossing emerges a story not just of triumph against odds, but of the unquenchable spirit of a people determined to remain free.